
Reference guide · images · Published 2026-08-16 · 3 min read
WebP lossless vs lossy compression
WebP lossless vs lossy: lossless keeps every pixel and bests PNG, lossy trades small quality for far smaller files. Choose by content type and quality level.
- ·What each mode preserves
- ·Choosing by content type
- ·Picking a quality level
What each mode preserves
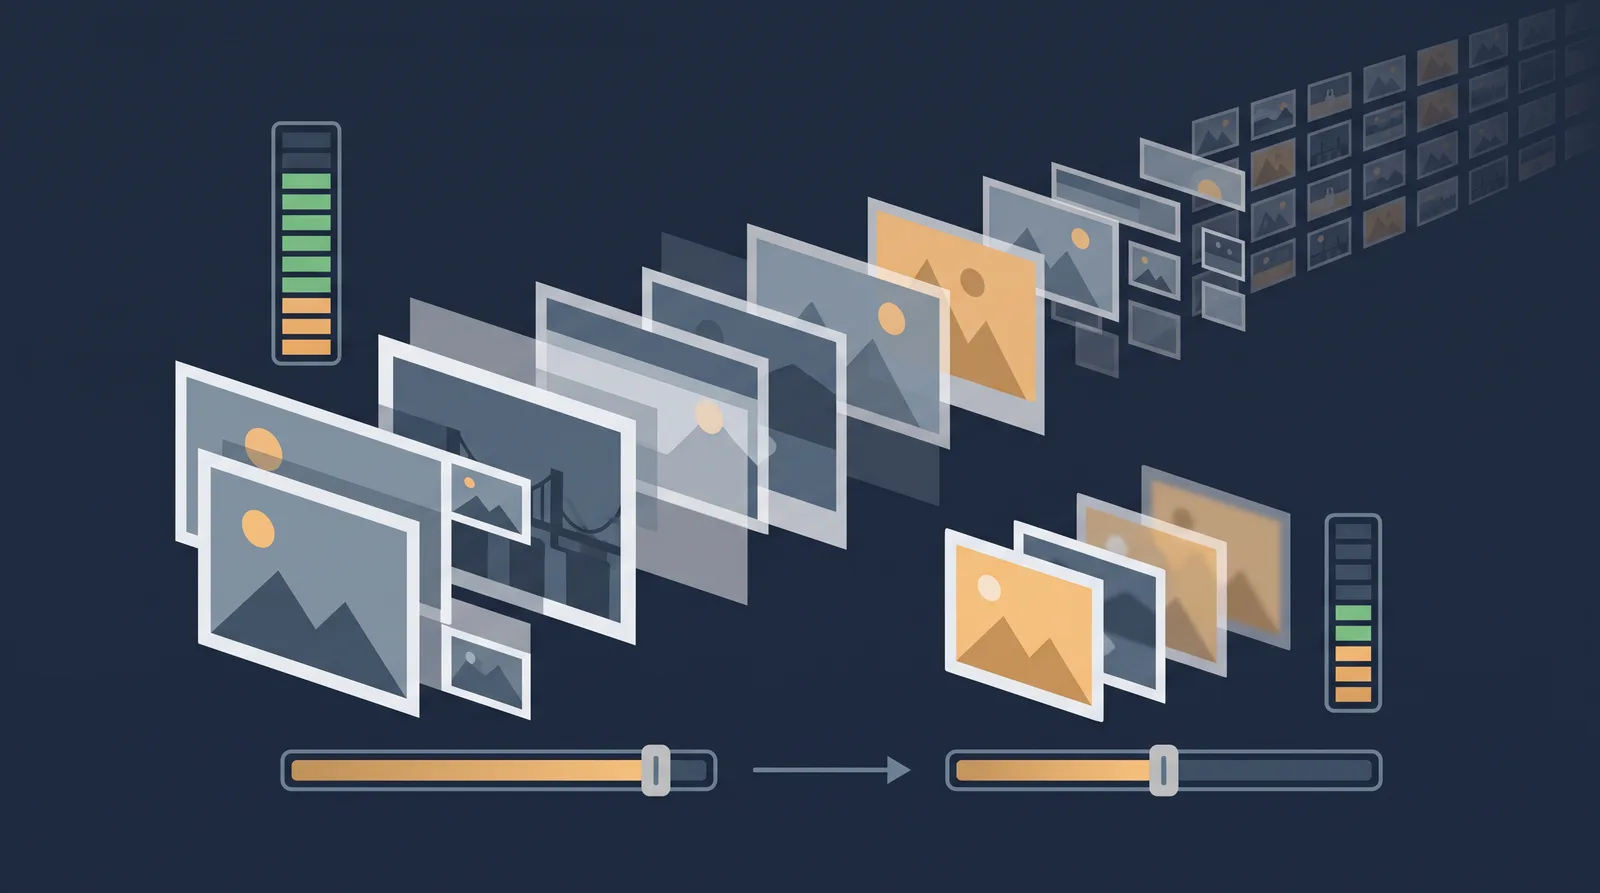
WebP is a dual-mode image format: the same file container can hold either a lossless or a lossy encoded image, and you choose the mode at encode time. Lossless WebP uses the VP8L codec and reproduces every pixel exactly, much like an advanced PNG. Lossy WebP uses the VP8 codec and applies lossy quantisation, trading a small, usually invisible quality drop for a much smaller file.
The transparency story is what makes WebP unusual among common web formats. Support for an 8-bit alpha channel (256 levels of opacity) is available in both modes. In a lossy WebP the separable ALPH chunk stores the alpha mask losslessly, so you can compress a transparent product photo or a logo edge aggressively without blurring the cut-out edge. JPEG cannot do transparency at all and PNG has no lossy mode, so the transparent-lossy combination is something only WebP (and AVIF) delivers.
Choosing by content type
Match the mode to what the image is. The core question is whether pixel-perfect accuracy matters more than file size.
- Graphics and sharp edges: logos, icons, UI elements, line art, screenshots with text. Use lossless WebP. These images have large flat regions that compress very well and need crisp edges, and lossless WebP typically lands 26 to 40% smaller than an equivalent PNG.
- Photographs and gradient-heavy images: hero photos, portraits, product photography. Use lossy WebP at a sensible quality (75 to 90). Photographs are exactly where lossless compression is inefficient, and lossy WebP can be several times smaller than a transparent PNG while looking the same to a viewer.
- Transparent photographs: a cut-out product shot without a background. Use lossy WebP with the alpha channel; the colour data compresses lossily while the mask stays exact. This is the case where WebP's advantage over PNG is biggest.
A reasonable baseline rule for most sites is: lossless for anything that is fundamentally flat graphics, lossy WebP or JPEG-family encodings for anything that is fundamentally a photograph.
Picking a quality level
For lossy WebP, the quality value has no fixed universal meaning, so treat it as a lever and test output. Values of 75 to 80 are a common starting point for most web images and are visually close to the source at typical display sizes. Quality 85 to 90 suits hero images and product photography where detail matters, at the cost of noticeably larger files. Quality below roughly 60 tends to show block artefacts and is rarely worth it except for thumbnails you do not need to look closely at.
Two quality facts catch people out. First, quality 100 is not lossless: it merely minimises quantisation while still applying lossy transforms, and at that point the file is nearly as large as genuine lossless WebP anyway. Second, when you need transparency you can control the alpha quality separately from the colour quality. Using cwebp, an RGB lossy mode at quality 90 with a lossless alpha mask keeps edges crisp while the colours compress lossily:
cwebp -q 90 -alpha_q 100 -m 6 input.png -o output.webpWhichever mode you choose, pair it with the tools in the image compression guide and the broader format pick, then verify the real-world result with a Lighthouse or field-data pass before locking it into your build.